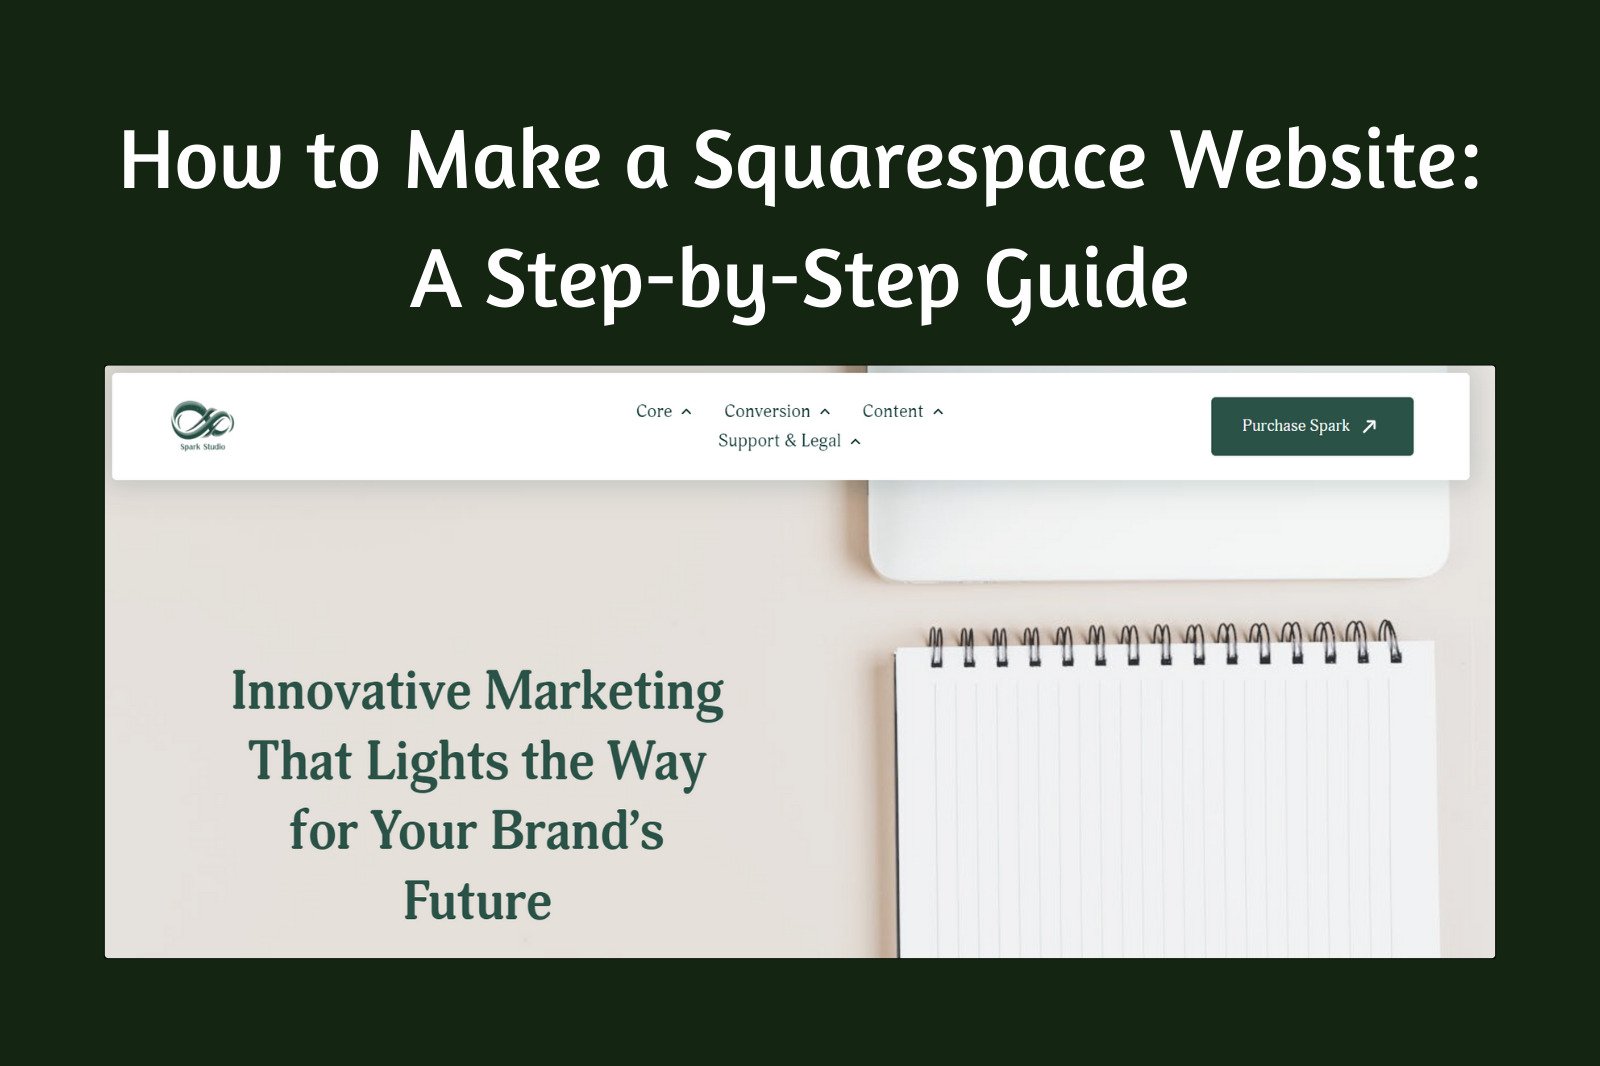
How to Make a Squarespace Website: A Step-by-Step Guide
Creating a website can seem overwhelming, but Squarespace simplifies the process with its drag-and-drop website builder and customizable templates. This step-by-step guide will help you learn how to make a Squarespace website from scratch, ensuring it’s professional, responsive, and SEO-friendly.
What Is Squarespace and Why Choose It?
Squarespace is a popular all-in-one platform that lets you build beautiful, functional websites without any coding knowledge. Whether you’re a small business owner, an artist, or starting an e-commerce store, Squarespace has features tailored to your needs.
Why Use Squarespace to Create Your Website?
Pre-designed Templates: Professional templates for every industry.
Built-in SEO Tools: Squarespace websites are optimized for search engines.
User-Friendly Interface: Perfect for beginners and advanced users alike.
Step 1: Sign Up and Choose a Squarespace Template
Create an Account
Head over to Squarespace and sign up. Squarespace offers a 14-day free trial, giving you plenty of time to experiment.Browse Templates
Squarespace provides an extensive library of responsive templates tailored to industries like blogging, e-commerce, photography, and more. Select a design that complements your brand or vision.
Pro Tip
Use Google to search for “best Squarespace templates for small businesses” or “top Squarespace templates for artists” to find curated suggestions.
Step 2: Customize Your Squarespace Website
Now that you’ve chosen a template, start personalizing it to reflect your brand. Squarespace’s editor is intuitive and requires no technical expertise.
Key Customization Areas:
Header: Upload your logo and create a navigation menu.
Homepage: Highlight your main services or showcase your portfolio with eye-catching visuals.
Fonts and Colors: Use the built-in style editor to select typography and colors that align with your brand.
Advanced Design Tip
If you’re familiar with CSS, you can add custom CSS to your Squarespace website for a more tailored look.
Step 3: Add Important Pages to Your Website
To make your site functional and easy to navigate, add the following essential pages:
Homepage: The first impression matters! Showcase your brand’s strengths with high-quality visuals and a clear call to action (CTA).
About Page: Tell visitors your story and what makes your business unique.
Services or Products Page: Provide detailed descriptions of what you offer.
Contact Page: Use a form, email, or phone number to make it easy for users to reach you.
Blog or Resources Page (optional): Share insights to establish authority in your niche.
SEO Tip
Ensure each page has a descriptive meta title and keyword-rich content to rank higher in Google searches.
Step 4: Optimize Your Website for SEO
Squarespace’s built-in SEO tools help improve your website’s visibility on Google. Follow these steps to optimize your site:
Squarespace SEO Tips:
Use Keywords: Add relevant terms like “Squarespace website templates for small businesses” and “how to customize a Squarespace website” in your content.
Optimize Images: Add descriptive alt text to every image.
Write Meta Descriptions: Create unique, keyword-focused meta descriptions for each page.
Pro Tip
Search “Squarespace SEO best practices” or “how to rank Squarespace website on Google” for advanced optimization techniques.
Step 5: Choose the Right Squarespace Plan
Before publishing your site, pick the Squarespace plan that best suits your needs.
Squarespace Pricing Plans
Personal Plan: Great for blogs or personal websites.
Business Plan: Ideal for service-based businesses.
Commerce Plan: Perfect for online stores with advanced e-commerce tools.
If you’re unsure, start with the Personal Plan and upgrade as your needs grow.
Google Search Tip
Look up “Squarespace plan comparison” or “best plan for Squarespace e-commerce website” for detailed reviews.
Step 6: Connect Your Domain and Publish
Once your website is ready, it’s time to go live!
Buy or Connect a Domain
You can purchase a custom domain through Squarespace or link an existing one. Choose a domain name that’s memorable and relevant to your brand.Preview Your Site
Use the mobile preview feature to ensure your website is fully responsive.Publish Your Website
When everything looks perfect, hit “Publish” and share your site with the world.
Step 7: Enhance Your Website with Squarespace Features
Squarespace offers additional tools to improve your site’s functionality:
Email Marketing: Build your email list and send newsletters directly from your site.
E-Commerce Features: Add products, set up payment gateways, and track inventory seamlessly.
Analytics: Use Squarespace Analytics to monitor site performance and visitor behavior.
Customization Option
If you want unique features, consider hiring a Squarespace web designer or using custom Squarespace templates from Shree Creative Studio.
Conclusion: Start Building Your Squarespace Website Today
Making a Squarespace website is an exciting process that can elevate your brand or business. By following this guide, you’ll create a professional, mobile-friendly site that’s optimized for search engines.
If you want to save time, explore our DIY Squarespace templates at Shree Creative Studio. Our designs are beginner-friendly, highly customizable, and perfect for building a modern, responsive website.
Take the first step today and bring your vision to life with Squarespace!

